Easy DIY Fabric Pumpkins from Old Socks
How to make fabric pumpkins from old socks is the perfect solution to that little bit of chaos we all have: a drawer overflowing with single socks and a craving for cozy, seasonal decor. Do you ever look around and wish your living room felt a little more festive, a little more…you, without a huge expense or a weekend-long project? Well, I’ve got just the thing! Imagine charming, plump fabric pumpkins, each with its own unique texture and hue, nestled on your mantelpiece or gracing your coffee table. These adorable creations are incredibly budget-friendly, costing next to nothing, and can be whipped up in under an hour each. In this article, I’ll walk you through simple steps to transform those forgotten socks into delightful decor, showing you exactly how to achieve that perfectly gathered look and add a sweet, autumnal touch to your home.
Cozy Up Your Space: Adorable Fabric Pumpkins from Old Socks
There’s something magical about autumn. The crisp air, the changing leaves, and the undeniable urge to bring a touch of cozy into our homes. And what screams autumn more than pumpkins? This year, I’m embracing a DIY spirit and showing you how to transform those forgotten old socks into charming, no-sew fabric pumpkins. Not only is this an incredibly budget-friendly project, but it’s also a fantastic way to upcycle and add a unique, handmade touch to your decor, especially if you’re living in a small space or a rental where drilling holes is a no-go.
What You’ll Need and Roughly What It Costs
The beauty of this project is its affordability. You likely have most of these items already cluttering up your drawers!
* **Old Socks:** You’ll need about 1-2 adult-sized socks per pumpkin. Look for socks with interesting textures, colours, or patterns. Thicker socks work best for structure. I usually find a stash of lonely socks that have lost their mates – these are perfect!
* **Stuffing Material:** This is where you can get creative. Old fabric scraps, poly-fill stuffing (around $5-10 for a decent bag if you don’t have scraps), crumpled paper (junk mail works!), or even more old socks can be used. Aim for about a small pillow’s worth of stuffing per pumpkin.
* **Twine or Jute String:** A spool of twine can be found for around $2-5 at most craft or dollar stores. This will be used to create the pumpkin’s segments and the stem.
* **Scissors:** Any sharp scissors will do.
* **Optional:** Fabric glue (around $3-5) for extra security on stems, beads or buttons for a rustic look (often found in old jewelry or craft bins, or a small pack for $2-4).
So, for a batch of 3-5 medium-sized pumpkins, you’re probably looking at a total cost of under $10, especially if you’re resourceful with your stuffing!
Measuring and Planning Before You Start
Before you dive in, a little bit of planning goes a long way.
* **Size Matters:** Decide on the size of your pumpkins. This will dictate the size of the sock you choose and how much stuffing you’ll need. A standard adult sock will generally yield a pumpkin about 4-6 inches in diameter. If you want larger pumpkins, you might need to use a larger sock, or even sew two socks together (though we’re keeping this no-sew for now!).
* **Shape is Key:** While fabric pumpkins are inherently roundish, the way you stuff and tie them will influence the final shape. Think about whether you want a plump, squat pumpkin or a more elongated one.
* **Colour Palette:** Consider where you’ll be displaying your pumpkins. Will they be on a mantel, a bookshelf, or a coffee table? Having a cohesive colour scheme will make your display look intentional and stylish. Muted tones like cream, beige, sage green, and muted orange work beautifully for a sophisticated autumn look. For a bolder statement, you can mix in some deeper reds or yellows.
Your Step-by-Step Guide to No-Sew Fabric Pumpkins
Here’s how I make my little fabric pumpkin pals:
1. **Prepare Your Sock:** Take one clean, adult-sized sock. Turn it inside out. This will hide any seams and give you a smoother exterior.
2. **Stuff It Up:** Begin stuffing your sock. Start by filling the toe area, pushing the stuffing firmly towards the tip. You want a good, firm ball of stuffing. Don’t be shy – the fuller the sock, the more rounded your pumpkin will be. Continue stuffing until the sock is filled to your desired pumpkin size and firmness. Aim for a nice, round shape.
3. **Tie Off the Opening:** Gather the open edges of the sock together. Twist them tightly to close the opening. Secure this twist with a generous length of twine. Tie a very tight knot, as this will be bearing the weight of the stuffing.
4. **Create the Pumpkin Segments:** Now for the magic! Take another piece of twine (about 18-24 inches). Thread it through the center of the stuffed sock, going from the top knot down through the stuffing and out the bottom. Bring the twine back up through the center. You want to create these “lines” that will cinch the stuffing and form the pumpkin’s iconic segments.
5. **Divide and Conquer:** Depending on the size of your pumpkin, you’ll want to tie off the twine in 4-6 sections. For a medium pumpkin, I usually do four main divisions. Bring the twine around the outside of the pumpkin, back to the center, and tie another tight knot. Repeat this process, creating these distinct divots that define the pumpkin’s shape. The more you tie, the more segmented your pumpkin will look. Make sure the knots are secure; they’ll be holding everything in place.
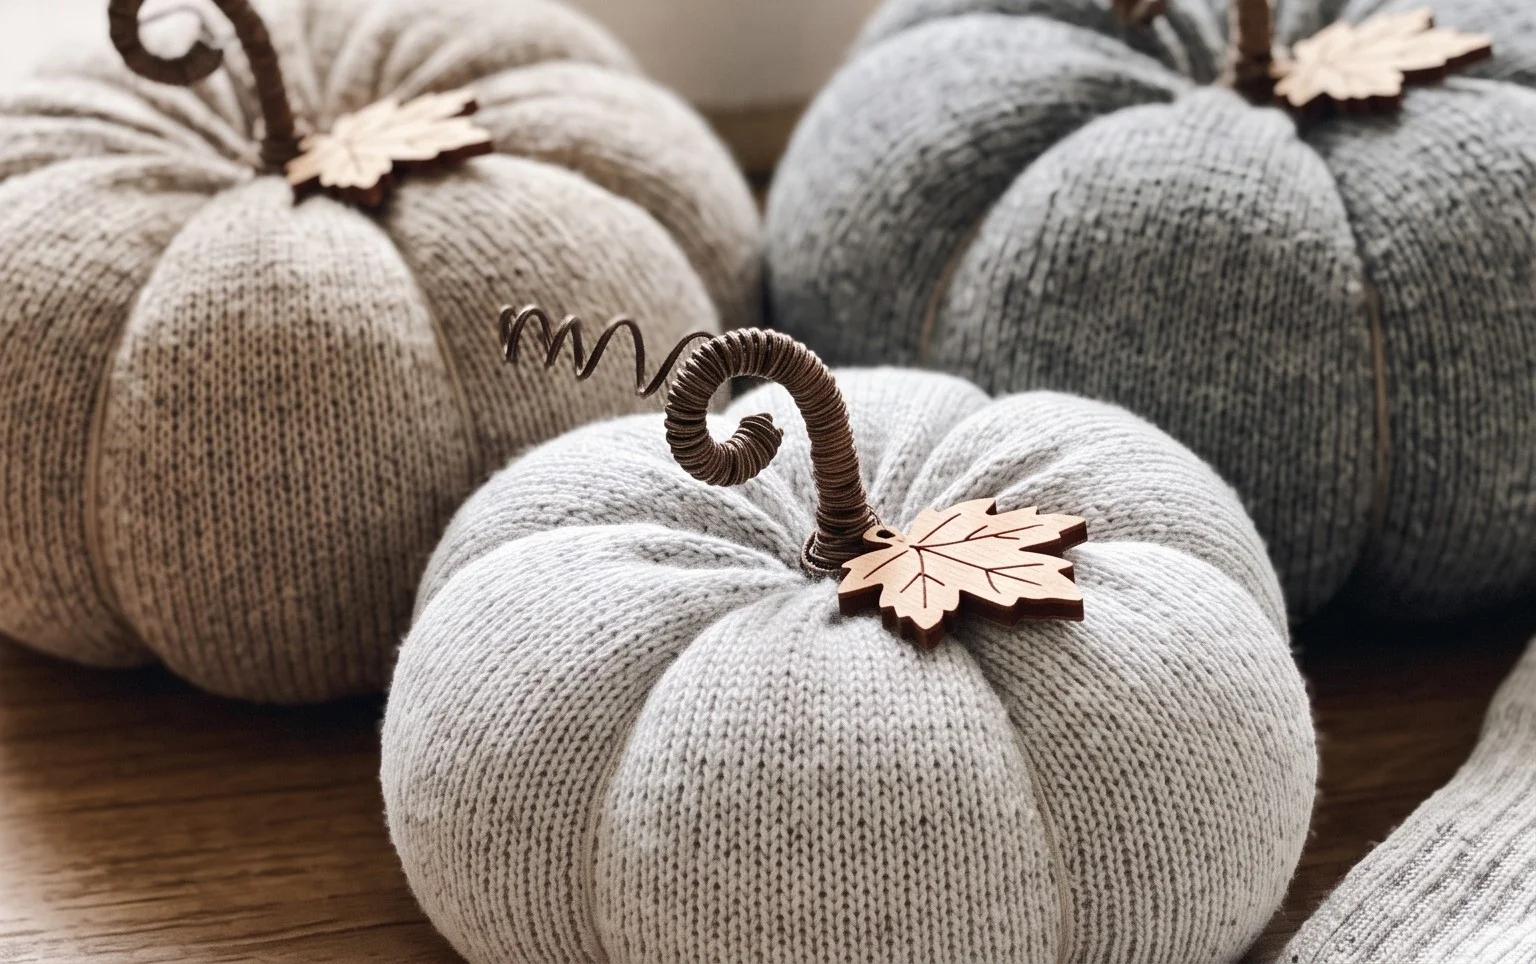
6. **Craft the Stem:** Cut a piece of twine or jute string, about 4-6 inches long. You can also use a piece of brown or green fabric, rolled up and secured. For a more rustic look, I often braid three strands of twine together. Fold this “stem” in half and insert the folded end into the top center of your pumpkin, between the segments.
7. **Secure the Stem:** Use the remaining twine from tying the segments to wrap around the base of your stem, securing it firmly to the pumpkin. Tie a tight knot. You can optionally add a dab of fabric glue to the base of the stem for extra security.
8. **Add Embellishments (Optional):** If you want to add a bit of extra charm, glue on a small bead or button to the top center of your pumpkin, right where the stem meets the body. This can mimic the little nub at the top of a real pumpkin.
Styling Notes: Making Your Fabric Pumpkins Shine
Now that your adorable pumpkins are made, it’s time to find them the perfect spot!
* **Colour Coordination:** As mentioned earlier, choose colours that complement your existing decor. For a neutral palette, a trio of cream, beige, and a soft grey pumpkin looks sophisticated on a white mantelpiece. If you have pops of navy in your room, try a sock with a subtle navy stripe or a deep teal sock.
* **Texture Play:** Mix and match textures! Use a chunky knit sock for one pumpkin, a smooth cotton blend for another, and perhaps one with a subtle ribbed pattern. This adds visual interest and depth to your display.
* **Strategic Placement:** Don’t just plop them all in one spot.
* **Mantelpiece:** Group a few pumpkins of varying sizes together. You can nestle them amongst faux foliage, candles (use battery-operated for safety!), or small decorative bowls.
* **Bookshelf:** Place a single, smaller pumpkin on top of a stack of books or nestled between them.
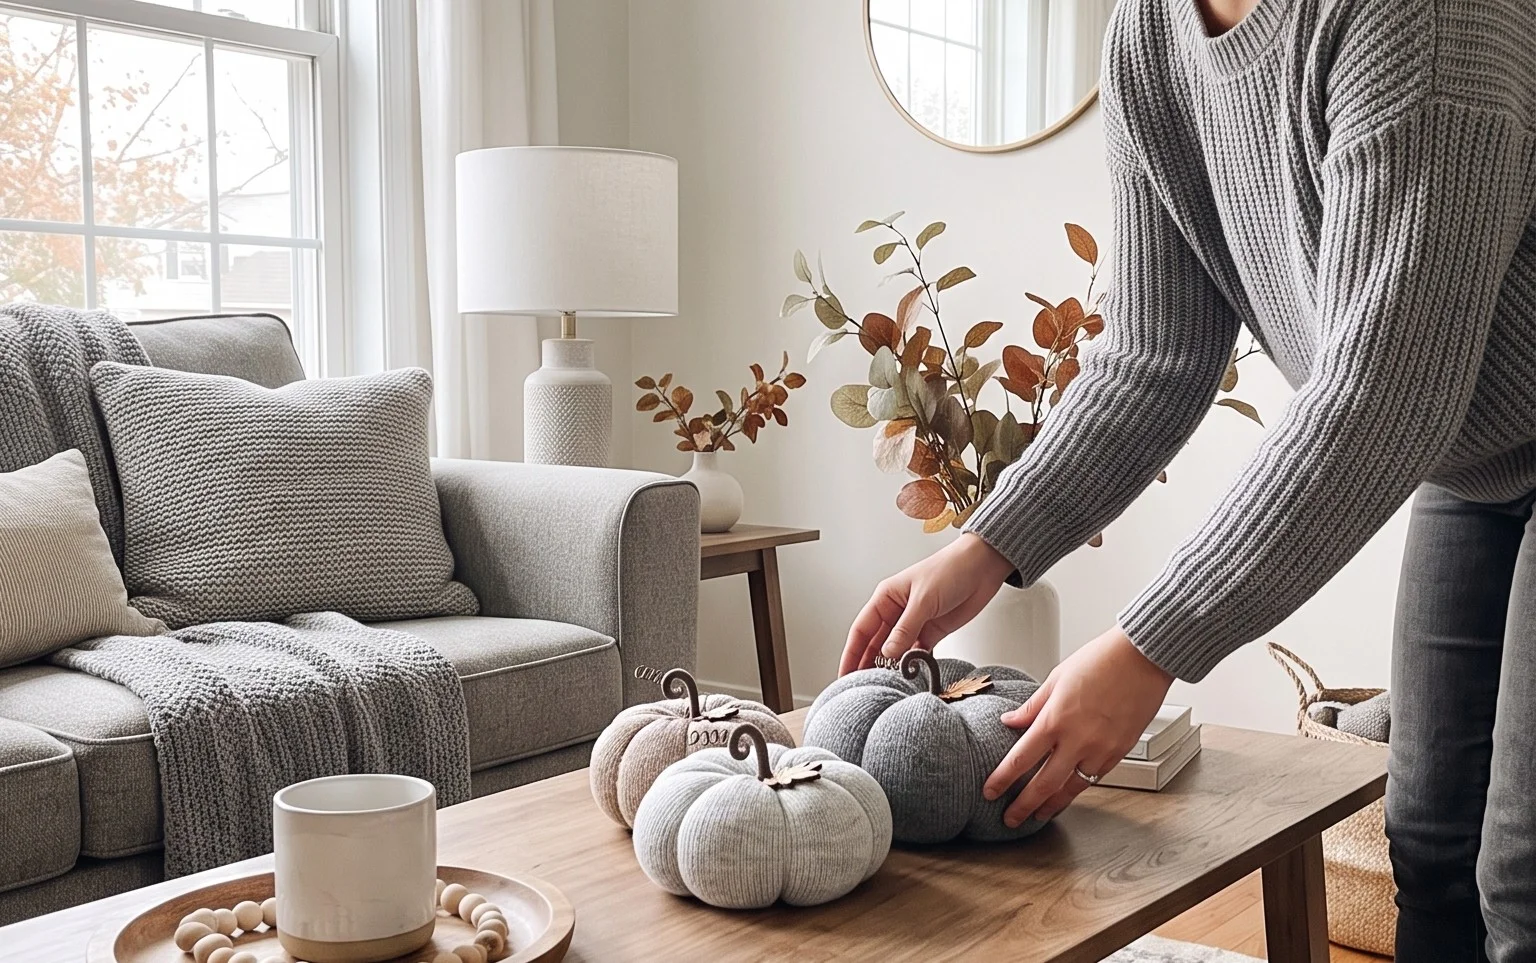
* **Coffee Table:** A cluster of 2-3 pumpkins can create a charming centerpiece. Add a tray to keep them contained and organized.
* **Entryway Table:** A welcoming touch as guests arrive.
* **Windowsills:** Even a small space can benefit from a pop of autumn colour.
Remember, the goal is to create vignettes, little moments of autumn cheer. Think about layering – place larger items behind smaller ones, and use different heights to create visual appeal.
Keeping It Tidy After Week One
The beauty of these fabric pumpkins is their low maintenance. However, after the initial week of adnon-alcoholic miring your handiwork, a little attention can keep them looking their best.
* **Tweak the Shape:** Fabric can settle. If one of your pumpkins starts to look a bit lopsided, gently reposition the stuffing and re-tie the segments if necessary. A quick tug on the twine can often adjust the shape.
* **Dust Gently:** A soft brush or a lint roller is your best friend here. Dust can accumulate, especially on textured socks.
* **Re-secure Loose Ends:** If any of your twine knots start to loosen, simply tie them a bit tighter. This is more likely to happen on pumpkins that are handled frequently.
Mistakes That Make This Project Fail
Even with a simple project like this, there are a few pitfalls that can lead to less-than-perfect results. Knowing these can help you avoid them!
* **Under-Stuffing:** This is probably the most common mistake. If you don’t stuff your sock firmly enough, you’ll end up with a floppy, shapeless “pumpkin” that doesn’t stand up well and doesn’t have that distinct, segmented look. Be generous with your stuffing!
* **Loose Knots:** The twine is what holds your pumpkin together. If your knots aren’t tied securely, the stuffing will shift, and your segments will loosen, leading to a deflated-looking pumpkin. Double-knot everything!
* **Not Enough Divisions:** While it’s tempting to just tie one or two knots, this won’t create the classic pumpkin shape. You need enough twine divisions to cinch the stuffing and create those defined sections. Aim for at least 4 for a medium-sized pumpkin.
* **Using Stretched-Out Socks:** While you’re upcycling, if your socks are excessively stretched out and thin, they might not hold their shape well or provide enough structure for your pumpkin. Look for socks with some life left in them.
* **Forgetting About Texture and Colour:** While any sock will technically work, choosing socks with interesting textures and colours makes a huge difference in the final aesthetic. A plain white, thin sock will look less impactful than a chunky knit in a muted ochre.
Making your own fabric pumpkins from old socks is a truly rewarding project. It’s a chance to get creative, save money, and bring a heartwarming touch of autumn into your home. So, dig through those sock drawers and let the cozy crafting begin!
Conclusion
Adding these charming, handmade fabric pumpkins to your home can truly make a difference to your day-to-day decor. They bring a touch of handmade warmth and seasonal cheer without breaking the bank. For your very first step today, why not simply gather a few of those stray socks you’ve been meaning to sort through? Even one little fabric pumpkin can brighten a shelf! For a different room or budget, consider using larger scrap fabric for a bigger statement piece, or perhaps small scraps of ribbon and buttons for a miniature, garland-ready version. We hope this inspired you to get creative! Feel free to explore more of our home decor and organization ideas to continue transforming your space.